Install WP-reCAPTCHA Plugin
Log into your WordPress Dashboard.Roll your mouse over Plugins, then click Add New. In the search box type wp-recaptcha and hit enter. Click Install Now…
Log into your WordPress Dashboard.Roll your mouse over Plugins, then click Add New. In the search box type wp-recaptcha and hit enter. Click Install Now…

If you don’t keep your personal computer updated, you will have security issues. Malware is the most common. Same goes for your WordPress site. If…

If your encoder, web service, and media service are all on one server, it is vital that you don’t let one service overrun your maximum…
Once KVS has installed their script on your website please follow steps to configure site for NGINX streaming and video protection.1) Login to KVS website admin.2) Click Settings.3)…
1) Purchase SSL from link below and M3 will install it. Purchase Valid SSL Certificate FREE SSL with positive Facebook: Leave Facebook Review 2) Login…

Some VR players are requiring that you allow access to CORS in hearders in order for videos to play. Example of error: Your video is…
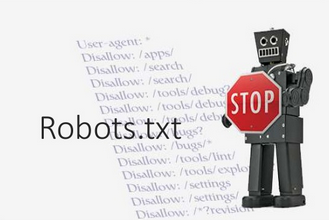
Various search engines and bots will scan your website pages to index them. This can consume server resources quickly if you have lots of pages….

If you do not control your own DNS with a third part provider like cloudflare or DNS madeeasy then please submit a ticket to M3…
Once you KVS script is installed on site please follow steps to configure site for apache streaming. 1) Login to KVS website admin 2) Click…