How to set up Mac Mail step by step:
Click the Mail Icon to Launch Mac Mail
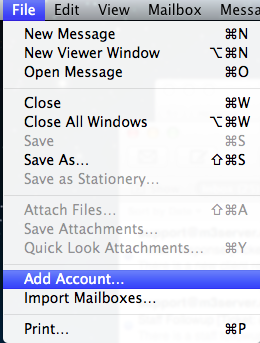
In the top left hand corner, click “file” select “add account”
Enter the name you want
Enter your email address: e.g.: you@yourdomain.com
Enter your password NOTE: passwords are case-sensitive .

Click continue;.You may have a pop up window “verify certificate” if so, click “connect”
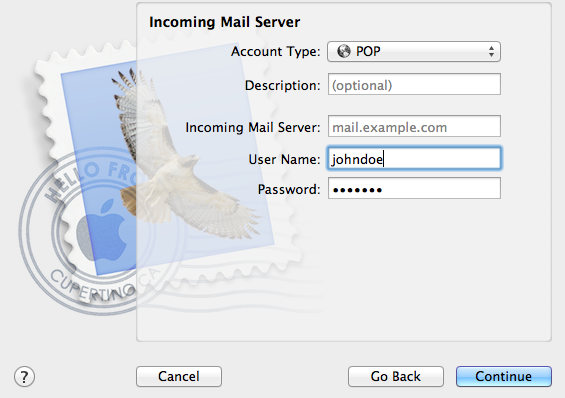
Enter the description of this mailbox. NOTE: this is optional, however if you are planning to set up more than one email account in the same program you need to name it in order to manage correctly. e.g. : Work/Personal/Sales/Service etc.
Enter your incoming mail server name. eg: yourdomain.com
Enter username and password. Click Continue.
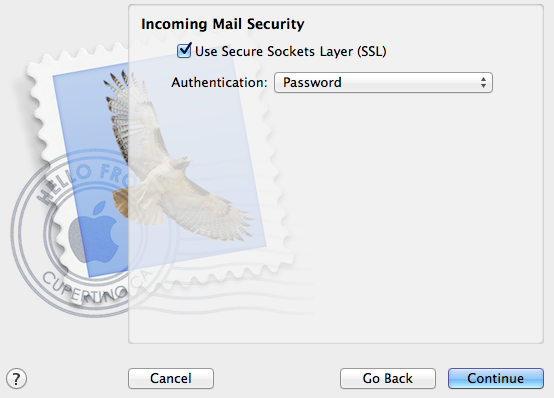
Incoming Mail Security. Verify that the box is checked. Click Continue
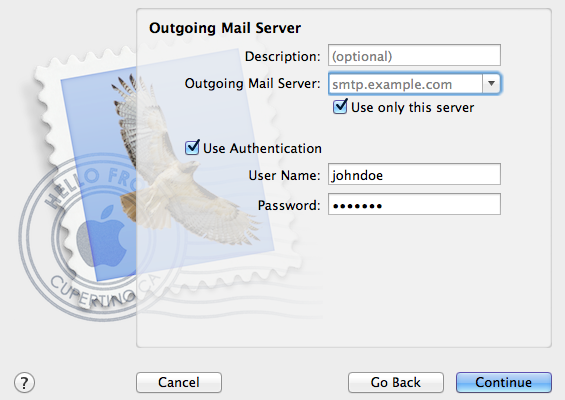
Enter outgoing mail server name: e.g.: yourdomain.com
Select the box next to “use authentication”
Verify username and password and click continue.
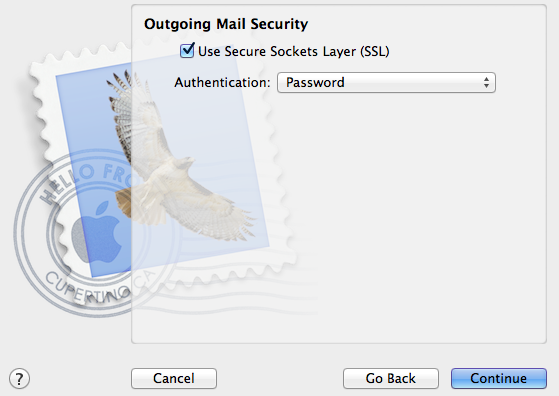
Outgoing Mail Security. Verify the box is checked and click continue
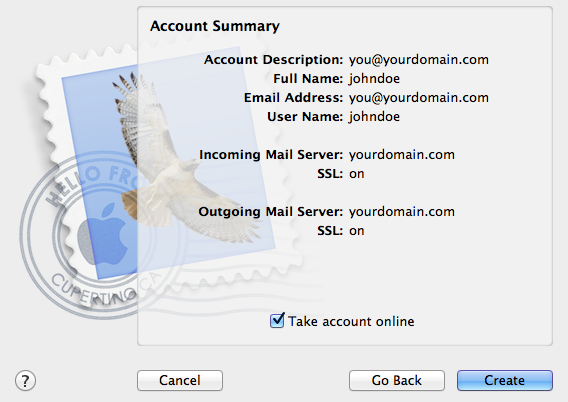
Review the information on the next screen, if all is correct, click box marked “take online”
Click “Create”
You are now ready to send and receive emails. Thank you for using M3Server.com