This article will show you how to configure your M3 content delivery network plan with WordPress installed via the W3 Total Cache plug-in.
Requirements
- Make sure you have an active M3 content delivery network services. If you do not have a CDN services you can view our plans at M3Server.com
- Login to your M3 client area click on services > my services.
- Latest version of WordPress, installed with the W3 Total Cache plug-in.
Configuration Steps
- Validate CDN subdomain is working. Put cdn.yourdomain.com into browser.
- Works: Proceed to Step 2.
- Doesn’t Work: Ask a M3 tech to review your DNS record.
- Configure W3TC plugin in WordPress
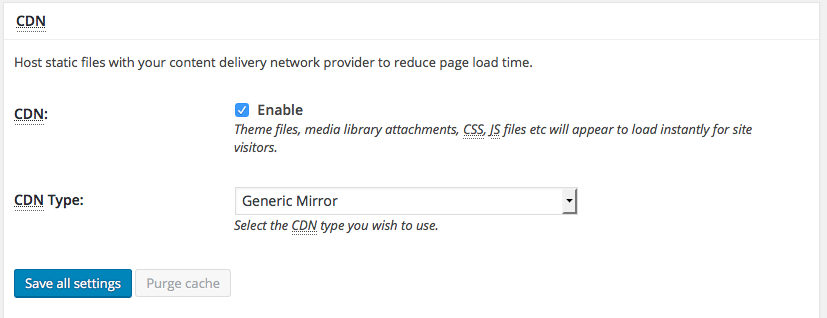
- Configure W3TC CDN Setting
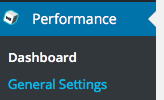
- Select Performance > CDN

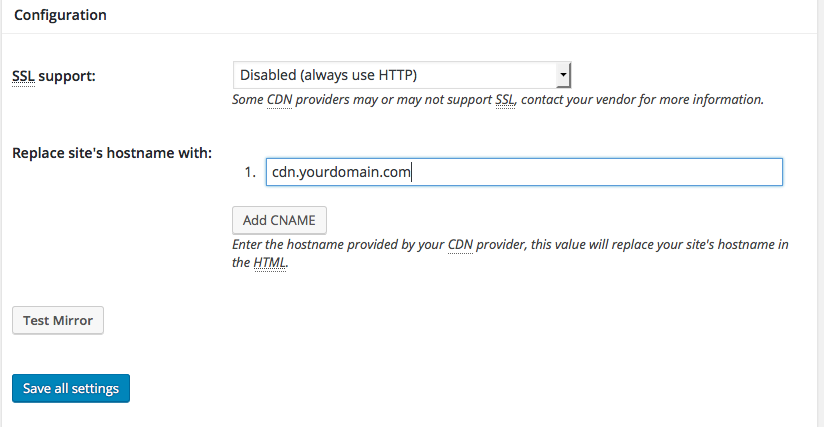
- Scroll down to the Configuration

- Under SSL support, select Disabled (always use HTTP)
- In the Replace site’s hostname with: cdn.yourdomain.com
- Click Save all settings to deploy your W3 Total Cache configuration.
- Click Purge All Cache
- Load your domain in browser to make sure everything it working properly.
- Browser validation: view source on your website page looking for the CDN subdomain in your source code.
- Select Performance > CDN

